NOTCam Opening
Logfile of openings.
- Print a copy of this checklist and check off each item as it is completed.
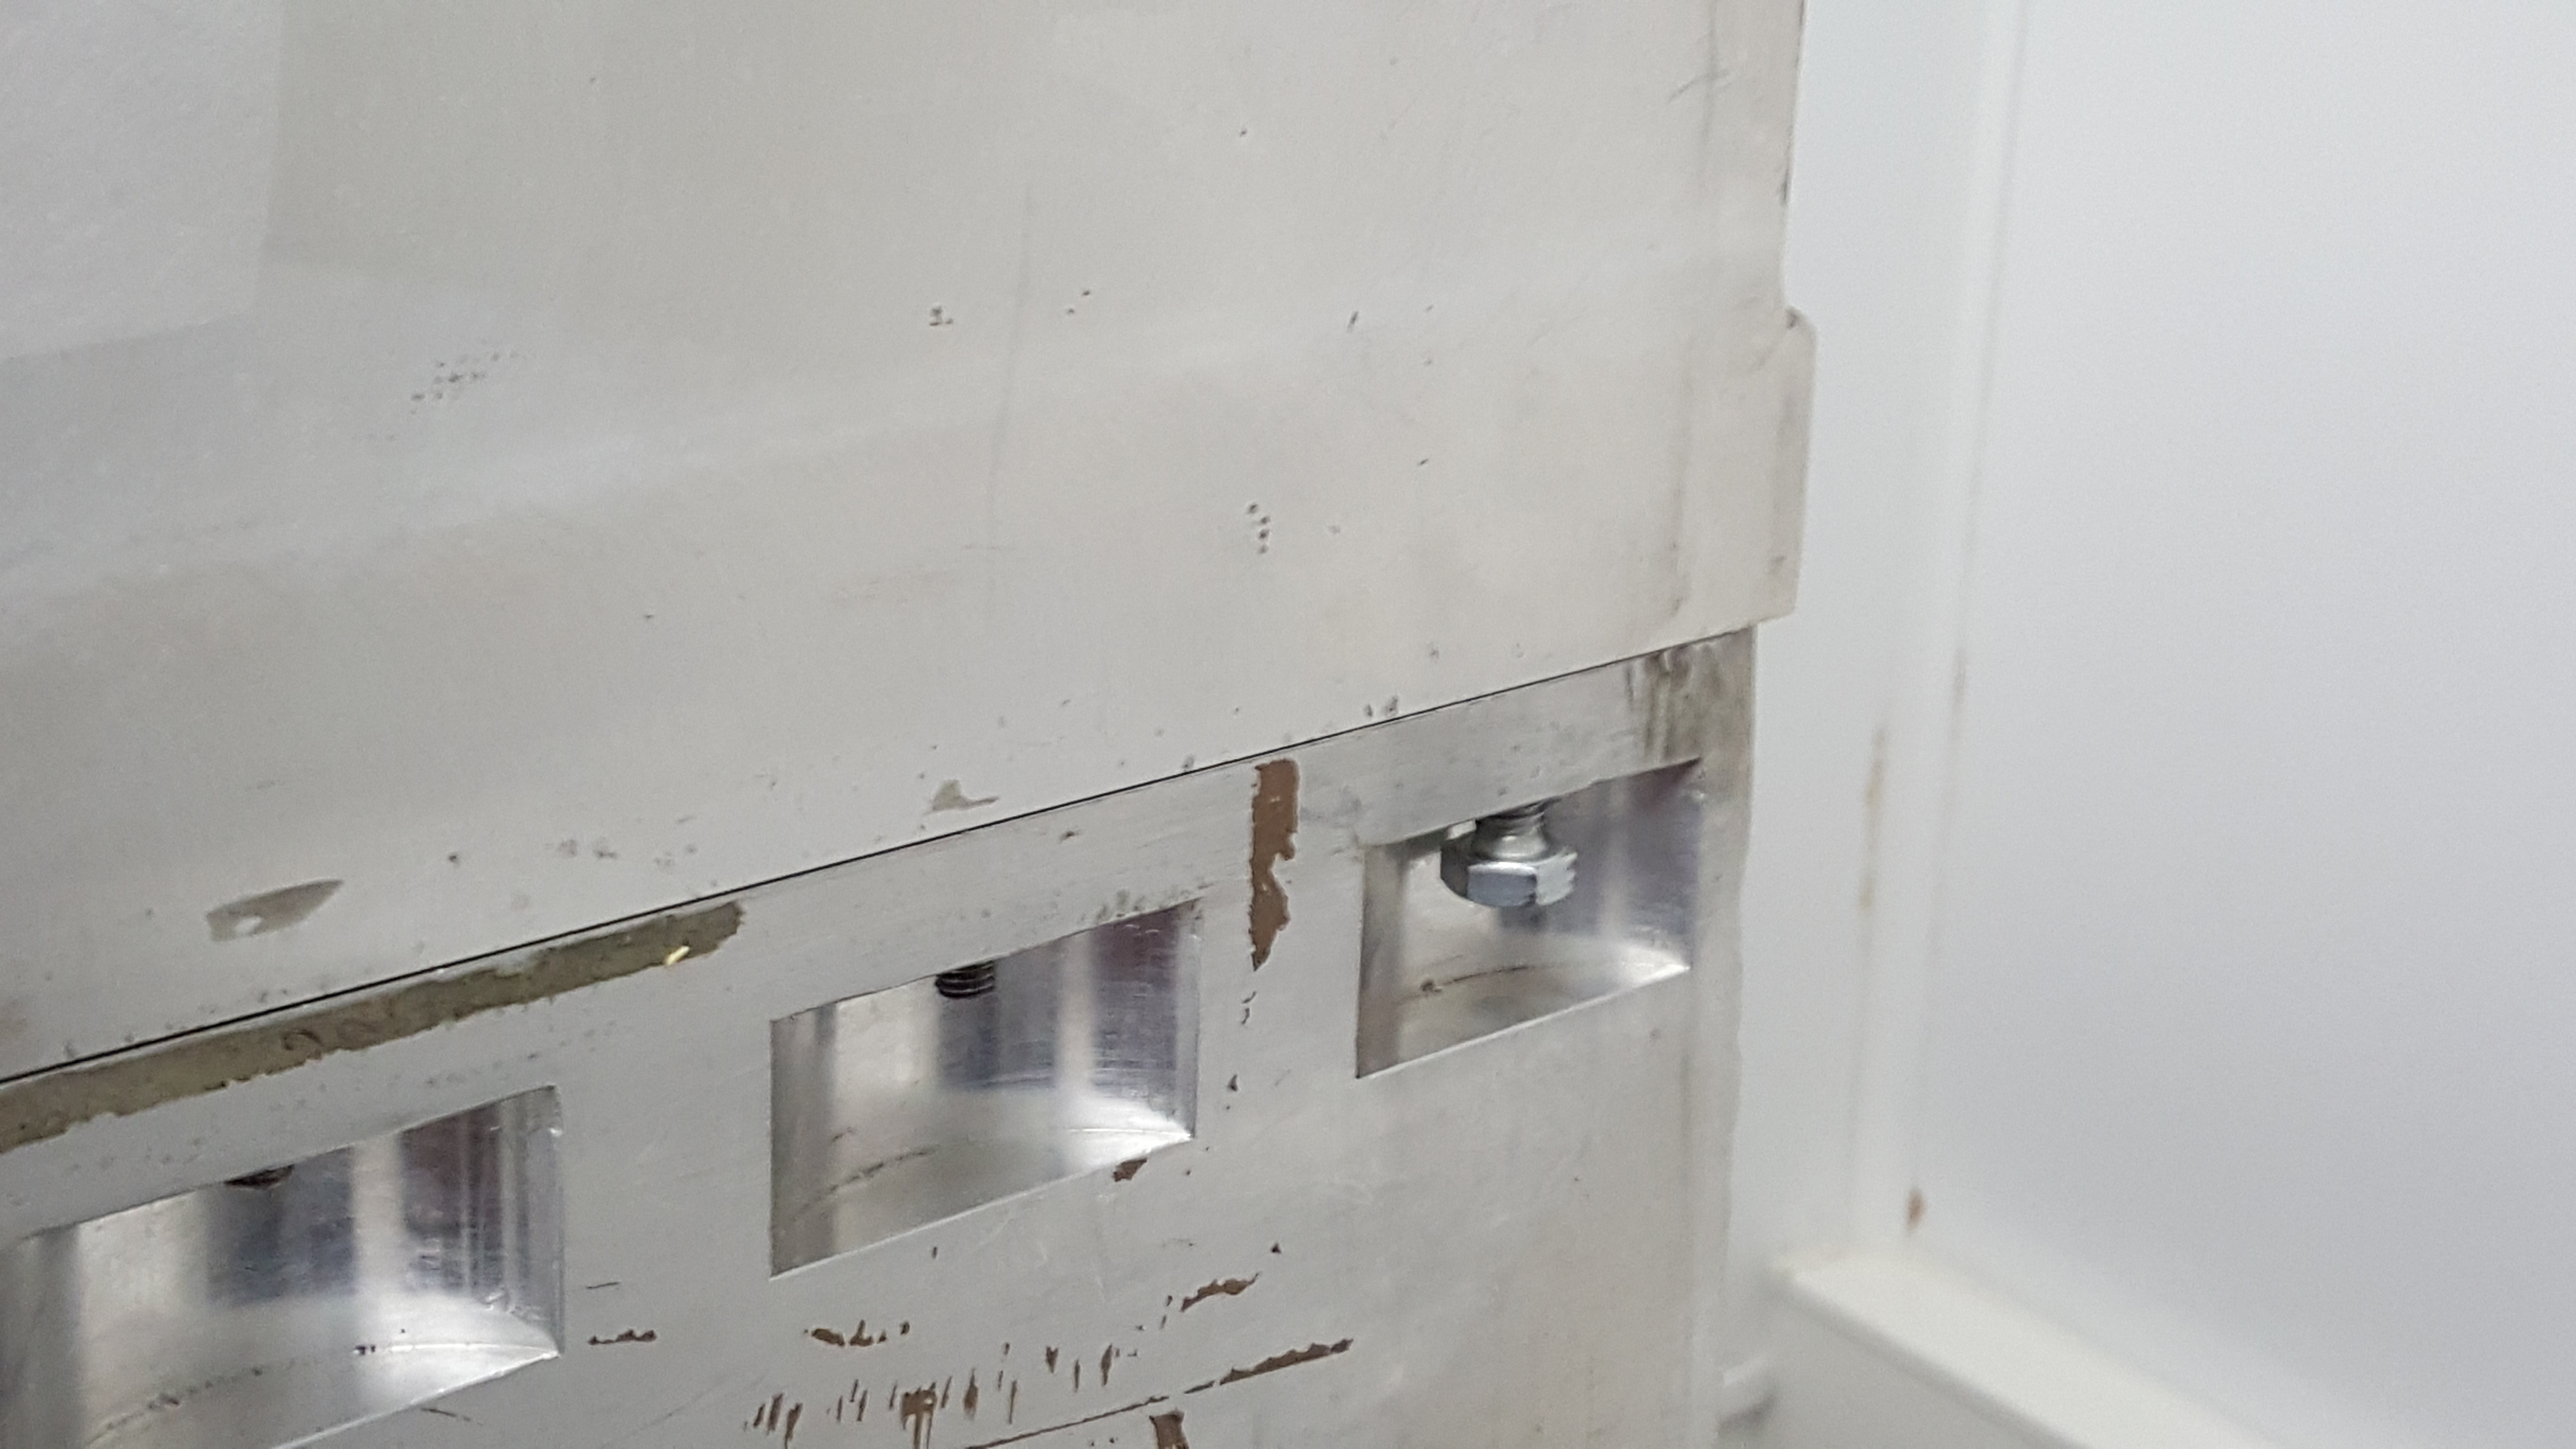
- Connect the motor controller to the instrument only by the Temp Cable,
power on the controller and check that the temperatures inside (#1, #2,
#3 and #4) are sufficiently high that NOTCam can be opened! It must be
well above the dew point (see figure below).

- Place NOTCam on its blue trolley lift according to the lines, with the
NOTCam entrance window to the right as seen from the table handle. Make
sure the trolley lift is secured in the "working level" position.
- Remove the metal belts.
- Dismount the array controller box, but don't disconnect the cables, and
place on the blue trolley next to the instrument. NB! Protect optical
fibers.
- Roll NOTCam into the clean room after having wiped it free of dirt/dust on
the outside. Wash hands well. Turn on the clean room fan only if the outside
humidity is below 90%.
- Use wrench M10 to undo the 32 (?) nuts which keeps the lid on. Check carefully
that all are removed!
- Hold an optical paper in front of the vacuum valve to avoid dust being sucked in,
and carefully open the valve little by little.
- Connect the proved earth cable to the instrument and make sure the other end
is clipped to a mains earth pin. If convenient also connect the mains power
of the instrument to a socket but make sure the array controller is off.
- Make sure the Ionizer is running.
- NB! Put on gloves and anti-static wrist straps! (Do not touch any of the
internal parts with bare hands.)
- Open up the entrance window front, piece by piece:
- Dismount the entrance window (8 large screws)
- Take care with the O-ring (it usually stays on the vessel)
- Take off the insulation cap
- Dismount the black-painted baffle plate (8 screws)
- Dismount the goldplated spherical reflector (8 screws, don't touch the
gold parts!)
Put the pieces on the table in the clean room with optical paper between
for protection. There are several small glass jars for the screws.
- When the entrance area is free, turn the two bolts (one in each diagonal
corner) to carefully lift the lid a few mm off the cold table base.
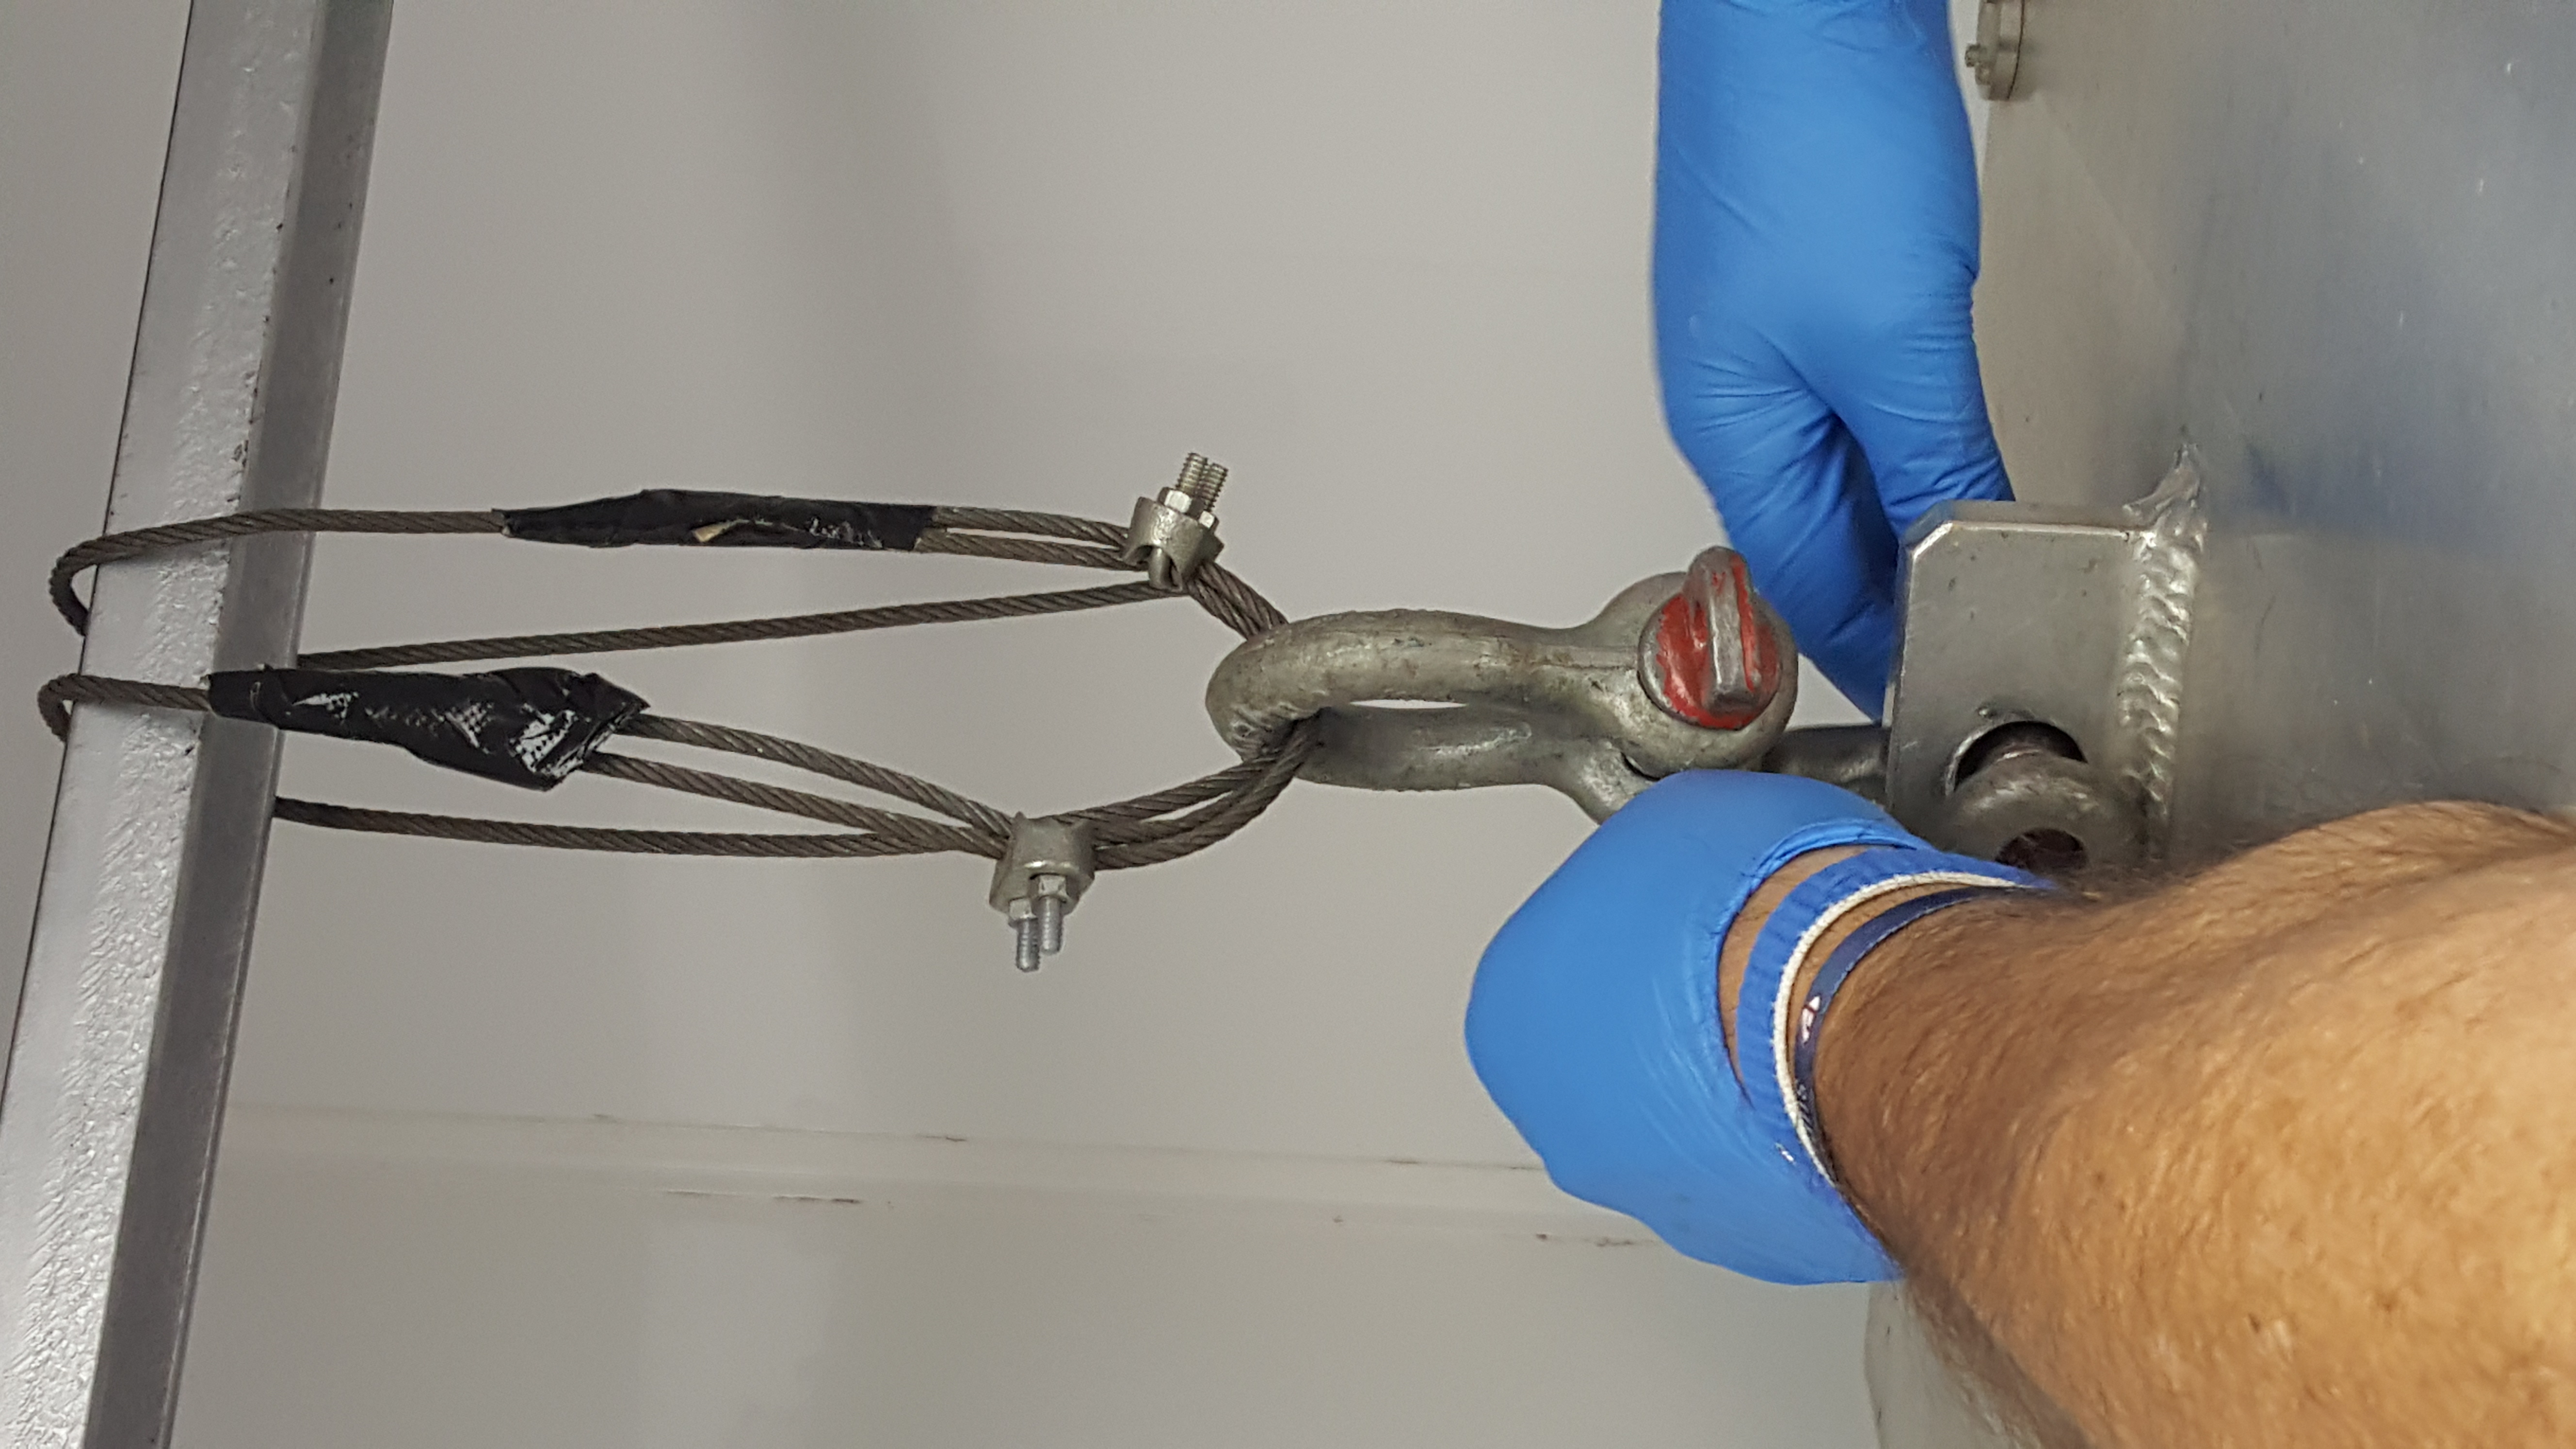
- Then place NOTCam under the "hook" in the corner as far as possible towards
the left wall (seen from the trolley handle).
Lift the trolley and connect the eyebolt on the lid top to the "hook".
Undo the safety pins on the trolley lift, and carefully lower the lift
while the lid is left hanging from the hook.
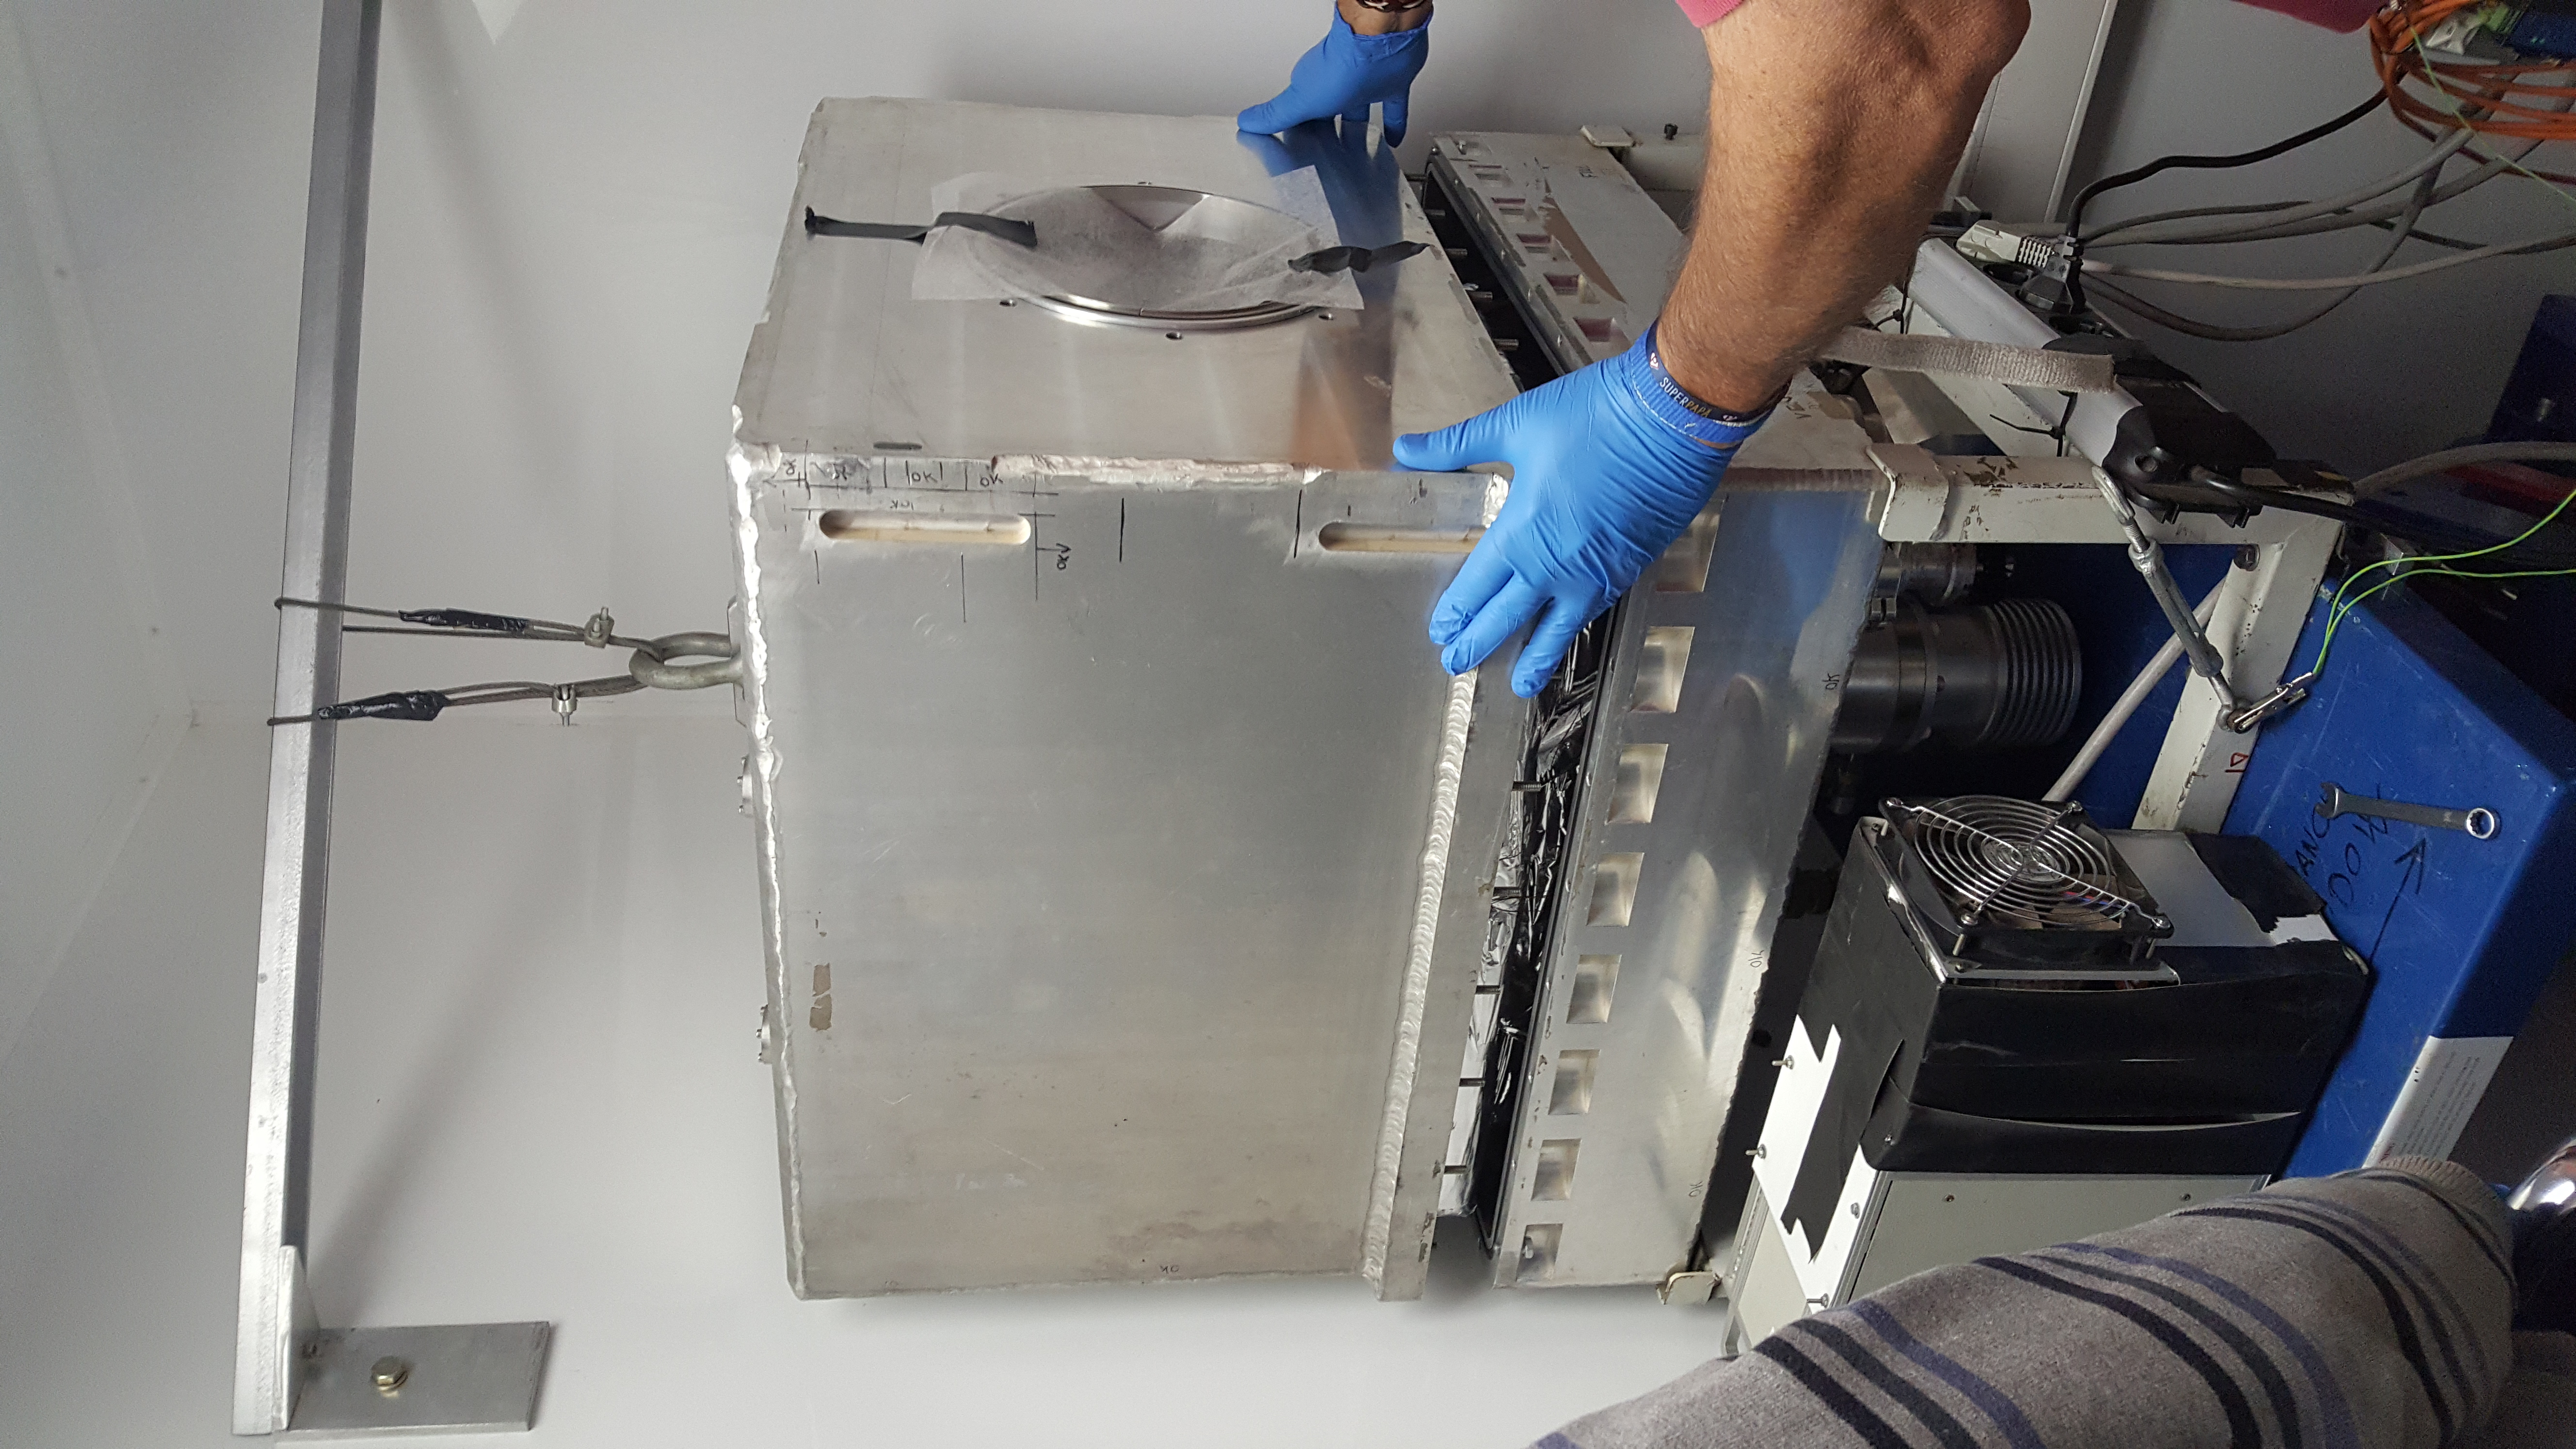

Two persons are needed to make
sure that nothing touches on the sides. Free NOTCam from the lid and put
it in a working-friendly place in the middle of the room. Secure the lift
in the "working level" position.
- Make sure you have put on gloves and anti-static wrist straps before
touching anything inside the instrument, including the radiation shield.
- Loosen the screws that fix the radiation shield. Two persons are
required to lift it carefully off and place it safely on the top shelf.
- Remember to always to used the latex gloves and the earth straps when
touching NOTCam inside!
- Dismount the getter with the three long wing screws. See photo of getter
dismounted and the long wing screws.

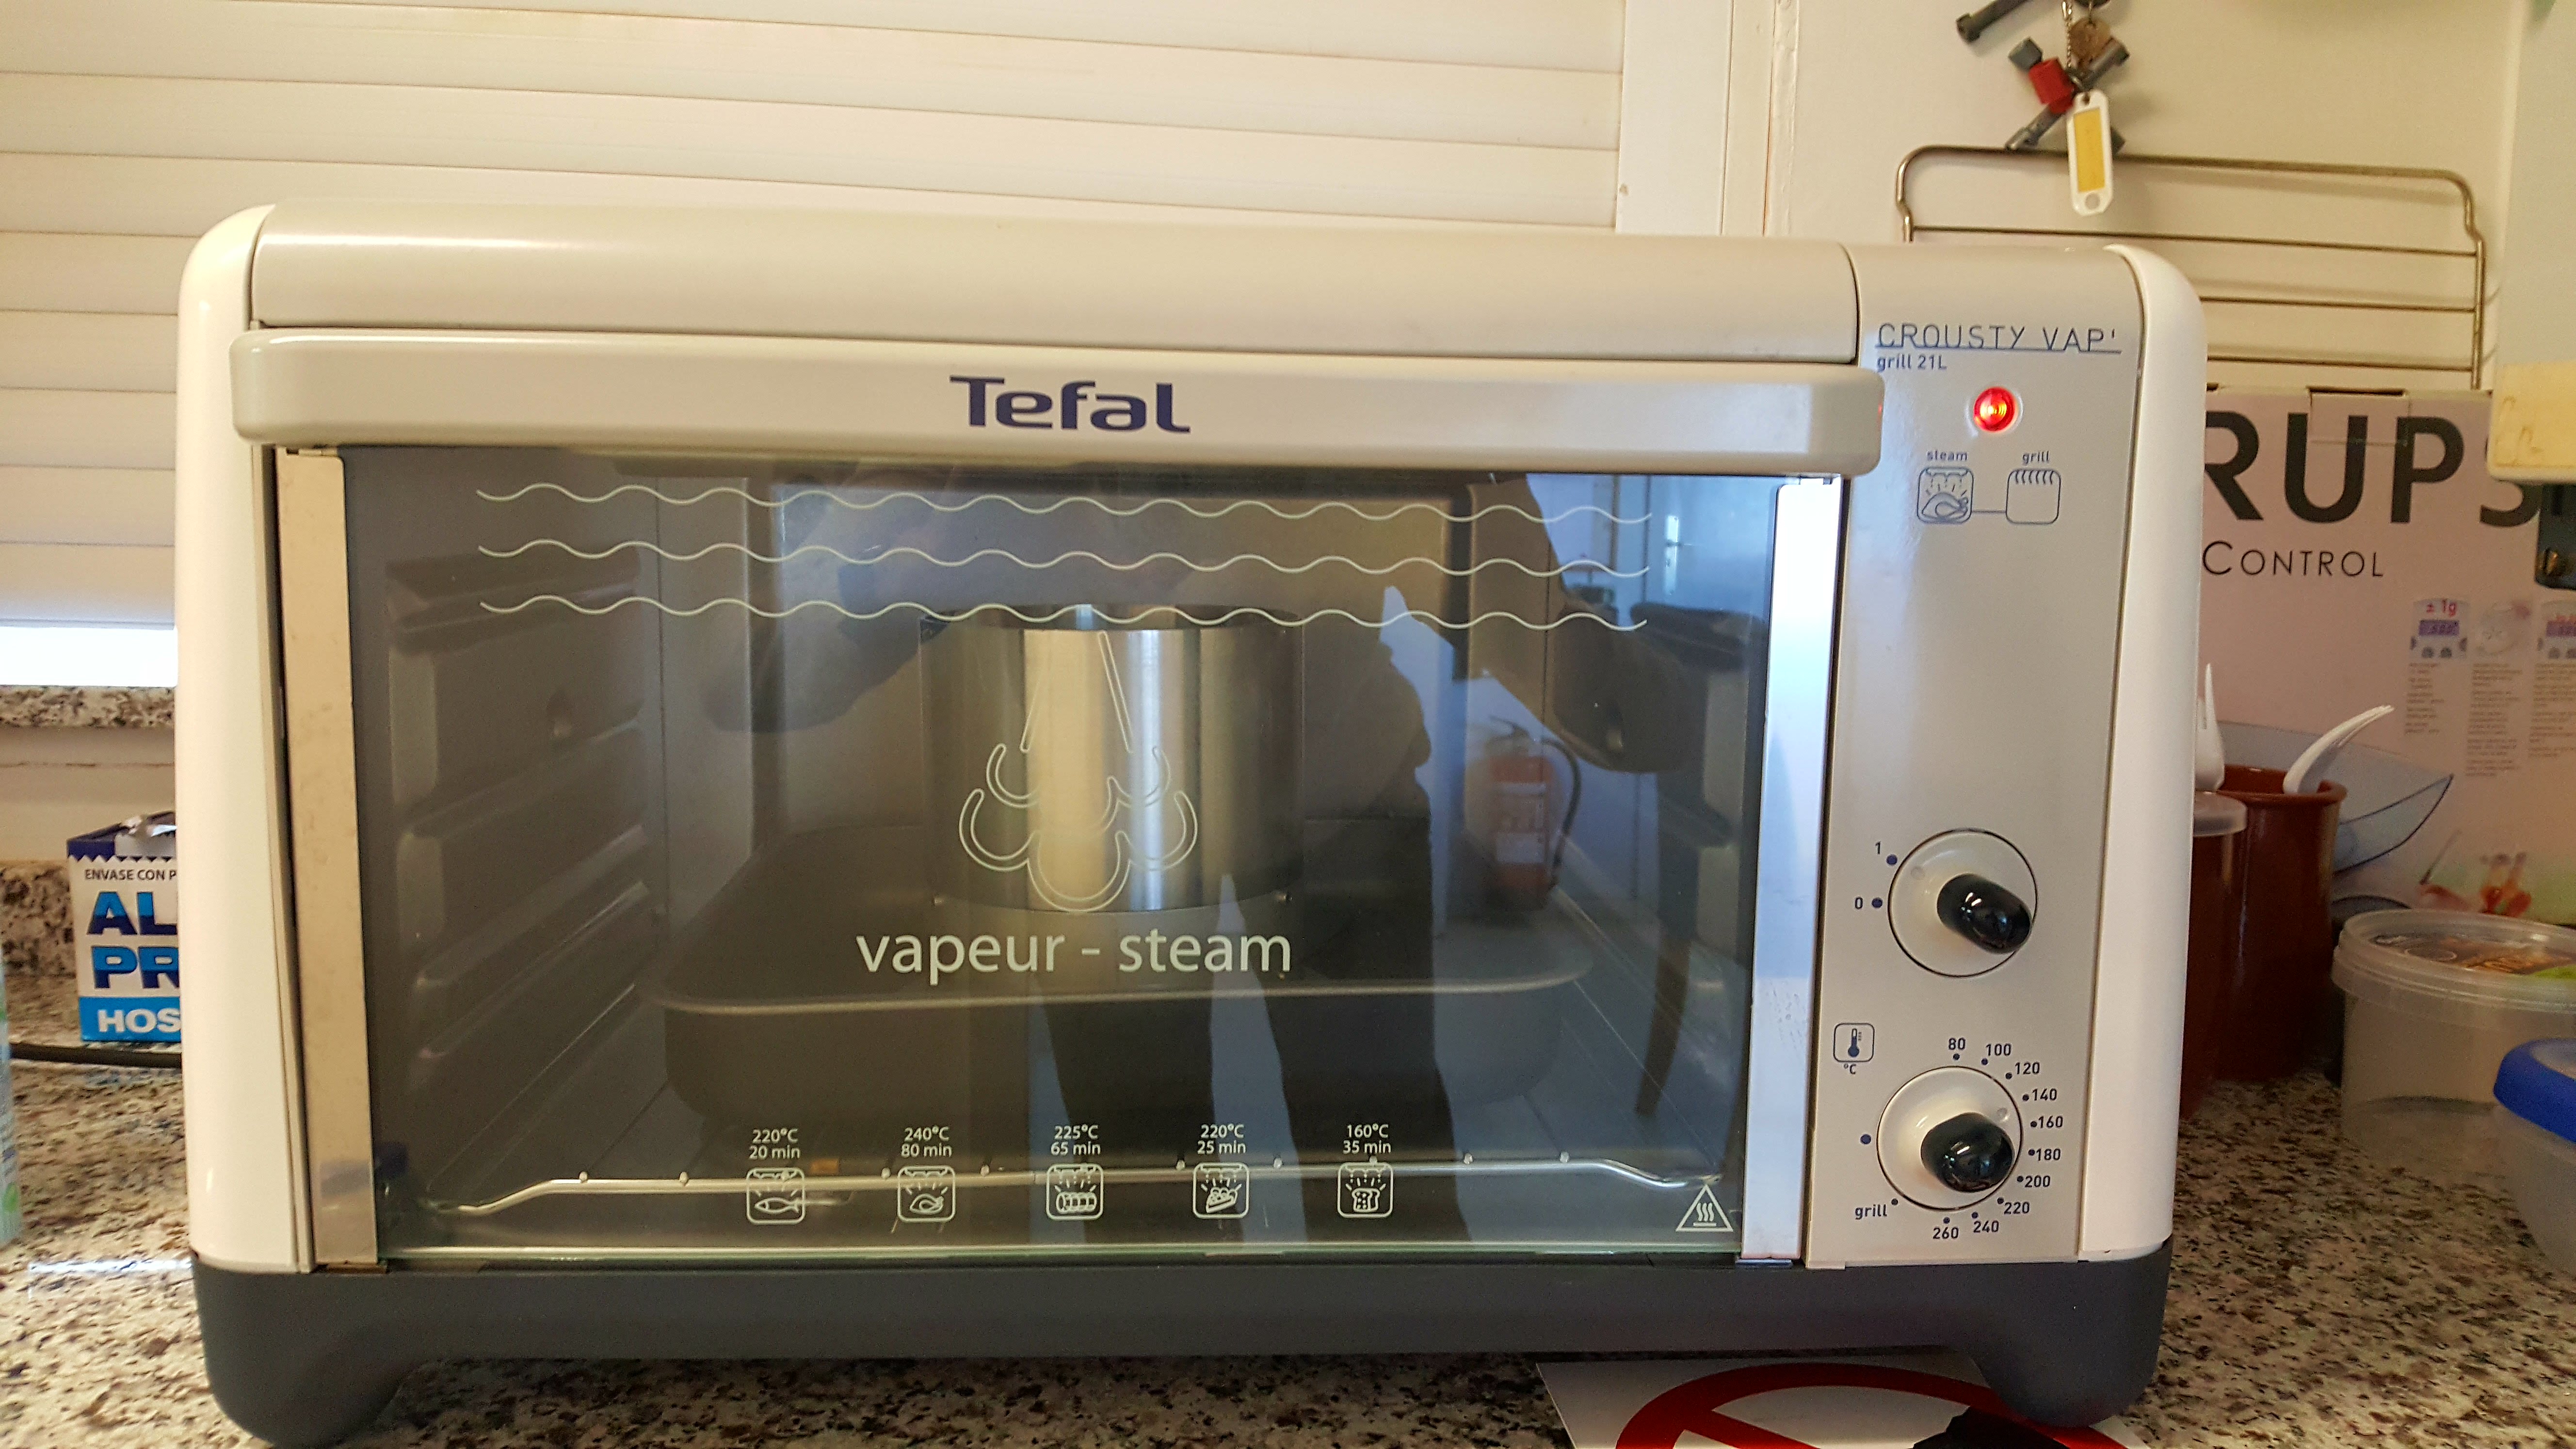
- Use the special oven (stored in the clean room) to bake the getter. It should
be baked at 140 degrees for at least 24 hours. Place the oven in the kitchen. Remove
the lid of the getter by undoing the 3 hex screws on its side, and leave it in the
clean room. (The lid has a paper filter that must not be baked.) Place the open
getter in the grey, square tray and put it in the oven. Switch on the oven and make
sure it is heating. Keep an eye on it.
- Clean the pressure sensor. It can be quite dirty.

- Leave the clean room fan running slow, with the ioniser running, and close the
door when you leave NOTCam open inside.
|